Friday, August 21, 2015

8 Steps to Breakdown Level 91

So I'm up to Breakdown Level 91 and I've spent the past few weeks fine tuning my strategy to optimize performance. Here is how I complete levels sometimes as quickly as 3 hours! That includes the hour it takes no matter what to completely fix the RV.

1. Loot immediate area, drop rucksacks near camper but not in it.

2. Find a car.

3. Drive back to camper and put rucksacks in it.

4. Drive to new base. I like Kirkman's or Savini's depending on which one I'm closer to.

Why Kirkman's or Savini's? Keep in mind my situation: my characters are 7 stars and nobody is injured/sick. I only need 8 beds and a kitchen for now. Savini's has better immediate access to supplies, but at this point I know all the best fields and locations to loot that I need with 90% chance of the specific supplies I want being there. Kirkman's is easier to get outposts set up in because the houses have very little loot, but you have to drive a little further for the oil and materials you need.

5. Only build what I absolutely need. If I have no sick or injured, I don't build a medical facility. I usually build the gun tower. That's it. Don't worry, you can leave blank spots on your home tab, even if Lilly protests.

6. I rotate between looting and building outposts. I only loot nearby buildings that I know have supplies I want or are needed for an outpost. If anyone isn't perfectly happy, I use them to do this.

7. Once this is done it's usually night, so I spend that time driving and looking for the RV. I have the spots all memorized so only the forests are dangerous to traverse at night (and I will save them for daytime). While going around the map I will get what I need from stops along the way.

8. Once the RV is found it's just a matter of grabbing what's needed and I spend the hour or so this takes doing easy missions to sell off my excess items in my stash to other groups. If I REALLY need help getting supplies I will recruit a new group of survivors and parade them around the map until I have the supplies and then return them to base.

Six Examples of easy, guaranteed loot:

  1. Bridges leading to the north section (blocked off for most of the single player campaign) will have medicine or ammo.
  2. The fields south of the farm have guaranteed materials and oil caches. There are three oil (including a shed) and three materials locations.
  3. The large warehouse southwest of the farm always has great oil and materials.
  4. The warehouse just east of Snyders has the most oil/materials chance in the game.
  5. The building just west of the Alamo has a street entrance with guaranteed materials.
  6. There are oil drums in the fields just north / across the road of the east most entrance to Marshal.

All these places are easy to loot and safe with the use of a firework or leaving your car far from your destination like I mentioned in the Safe Areas post.

Sunday, July 26, 2015

White "Safe Areas" and Noises

Just to be clear, white space is the safe zone that appears when you create an outpost or search/clear an area completely.

The most important part about "white space" in State of Decay is the fact that you can exit a car safely within them. In comparison, if you exit your vehicle in the middle of nowhere without white space on the map, then several zombies will charge you (regardless of their distance) and usually a few will spawn as well. The total is random, but usually you will end up with all nearby zombies that would hear the car normally plus at least two others. Specials appear to have a longer range for detecting the car outside of a white zone as well.

White space also effects how zombies react to your guns. In a zombie siege, firing your shotgun or revolver will not attract nearby enemies. This makes the shotgun or revolver the ultimate anti siege weapon. Combine the noise cancellation with the fact that there are natural choke points and you have an impressive defense for very little influence.

Firing outside of a white zone will cause zombies to spawn and charge you as well as direct other existing zombies to run towards you from all directions. In later breakdown levels, this restricts the usefulness of more powerful weapons that can't be silenced, since you literally could fire forever and not kill the spawning zombies. Each shot would kill a few and spawn more, so it makes no sense for looting, outpost building, and most missions to use a shotgun. (Except of course, in sieges).

You can use the white space to your advantage both inside and out of it. There are many places on the map where you can drive into a shed and instantly search it to turn it white without leaving the vehicle. Once the area is safe, you can exit your car without having nearby zombies or spawned zombies attacking you. This is great for traveling around to grab oil in farm sheds. Simply drive in, make the area white, drive away to despawn the zombies that heard you drive by, and then return to find an empty shed and possibly nearby house.

Making the zombies run to you isn't always a bad thing. Many times I will drive a car to a spot near a target location I want to loot, get out, and then sprint to that location. I might have to kill a handful of zombies max, but the majority will be drawn to my car. Then I can loot freely and either pick them off with a silenced gun or make noise to get them off the car. If you do use a noise, don't panic when they seem to not hear it and just sit on the car. Eventually they will also run off.

Sunday, June 28, 2015

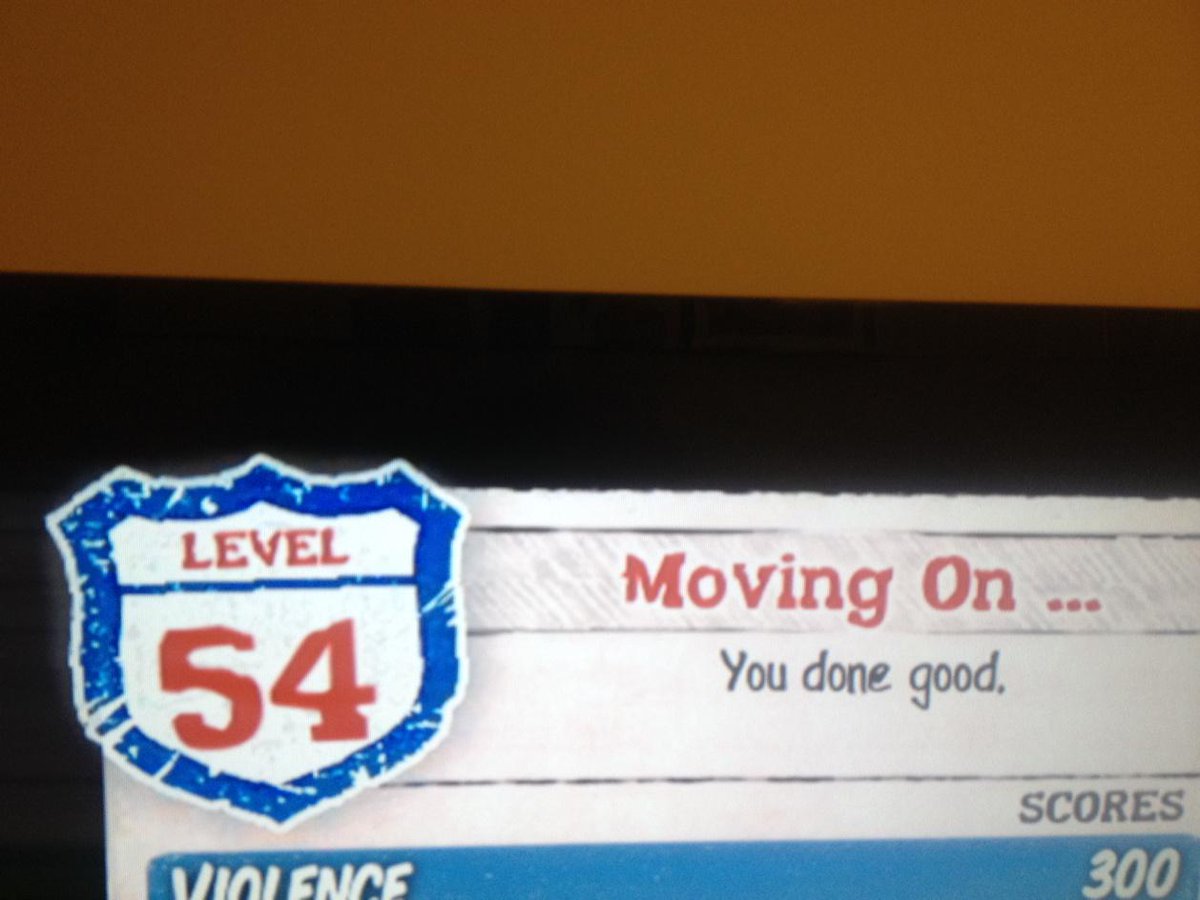
Level 55 in Breakdown is Highest Ever?

I've seen a lot of people speculate on what is the highest breakdown level for the popular game, State of Decay. The xbox one release brought a lot of people back to state of decay's grimy, zombie ridden streets only to find that not much had changed.

The game is still... so... damn... easy.


Well, it's easy for me, a person who has played hundreds of hours learning every single thing I could about this game. I've perfected the best strategies for each game mode (single player really isn't a mode, as it's a one off experience) and I did so well that many of my records remained despite not playing since late 2014.

I checked this morning and I'm still in the top 30 for lifeline and breakdown stats. In fact, if my lifeline score hadn't bugged out (stopped counting civies for some reason and missions stopped spawning), I'd probably be in the top 10 still. Speaking of lifeline and easy gameplay, every one of my soldiers has a grenade launcher, so my base is invincible during sieges (I only have to kill the bigguns and ferals who are immune to my teammates' grenades).

Much like a zombie Apocalypse, the leaderboard is all about long term survival. My breakdown levels are quick, efficient, and on the whole not dangerous at all. Now that I have THOUSANDS of fireworks, pipebombs, snacks, ammo, and medical supplies, I only die from the occasional survivor turning up missing/dead. All told I believe I've lost fewer than a dozen people in 54 levels.

At the moment I'm down to 5 survivors, as my medical/mechanic chick died because she decided to go missing at 11 PM on a Sunday night then turn up dead the following Wednesday. I'll have to spend longer than normal in level 55 finding and training my next survivor. I'm hoping to find a team mom or father figure to keep my team members' attitudes high. As I said before, people going missing is my #1 cause of death, and that happens for reasons I'm not directly responsible for (morale and interpersonal relationships for example).

I'd like to leave people who happen to come across this site a big tip regarding how to survive breakdown long term. Unlike lifeline, this game is less of a race and more of a marathon. In level 54 I only killed 134 zombies. That's 3-6 hours of play and only 134 kills. Mostly from missions, clearing buildings or picking off someone that wandered into my safe zone. Your number one priority is to avoid fighting. That makes marathoners and ninja's your top performing characters because they are the best at either running from danger or moving around unheard. This principle also dictates that the only missions I go on are for upset team mates or supply runs. Only when I need a recruit do I spend any time helping neighbors.

My strategy can be broken down into three stages:

1. Run a marathoner to a nearby base (or car to take me to a base). If I don't have immediate access to materials I take the alamo.

2. Ninja nearby buildings for create outposts and gather supplies. Fireworks are used to reach buildings that are farther away and make for a better spread of safe area once converted to outposts. Build workshop, sleeping bags, medical facility and optional training ground.

3. Drive around safe area packing supplies into cars and gathering up enough to finish the RV once it's available. Place ammo or grenade launchers into survivors with excess influence before taking off to next location. Also use nearby neighbor vaults to dispose of weapons/bags my teammates decided to shove into my own locker.

Notice how nowhere I talked about defeating hordes, taking on specials or wasting time doing any kind of murdering? Because death can come so quickly in State of Decay, it's all about avoiding fighting to stay alive. Let's see if I can get past level 99 using this strategy, a threshold which people have theorized (from modding) is as far as one can get in Breakdown.

Sunday, June 15, 2014

State of Decay Lifeline Ultimate High Score Guide

Here it is, how I'm currently ranked #5 in the world for XBOX SOD Lifeline. This guide will show you how to dominate Lifeline from siege 1 all the way to siege 1000. First off, let me explain a few keys to the strategy:

1. Infinite Influence

This bug was in the original game and Breakdown, so it's no surprise that we see it again in Lifeline. What you need to do is strip your characters of melee weapons (I leave the guns on in case a siege happens and my guys are left helpless). Next, go out into the world with a well equipped character and just kill zombies. When you go to the journal tab and look at each of your members, you will see that the ones marked "Away From Home" have grabbed weapons for themselves. Head back with your vehicle so you don't leave it on the highway, and then switch to those characters. Sell their weapons back to the locker for free influence. Repeat for infinite influence.

2. Outposts

It's important to place your outposts around each of the six major off ramps for the highway. All the other locations you will have to drive to when killing hordes. Do NOT allow hordes to just infest locations. For one, you'll get half the influence clearing an infestation compared to killing  horde (5 versus 10). Second, you'll have more ammo costs per siege to deal with the zombie threat from infestations.

3. Danger Zones

These are great for skill ups but terrible for points. As far as I can tell, regular zombies give 0 points when they spawn in a danger zone while the specials continue to give points regardless. Here is the ultimate shooting spot where you can fire as loud as you want at 5 constantly respawning targets:


Head to the second floor of this building and break the window where the ladder is on the east side. Now, zoom out into the alley (do this during the day) and fire away with no suppressors. All zombies attracted to the noise will run underneath you so you'll easily be able to escape back to your car when you're done. You'll get tons of headstreaks and quickly have a level 7 shooter.

4. Outposts

Here are the locations for my outposts. You want to focus on getting food and materials if possible, but honestly it does not matter due to the infinite influence bug and being able to call in supplies.

5. Weapon Specializations

During a siege, being able to pick off ferals with single head shots is a great influence saver. So if you want you can have someone with focused aim for that reason. Otherwise, go with these specializations:

Reflex - Endurance, spin kick, no melee weapon
Powerhouse -  edged, low slice (use on armored zeds)
Other - Blunt, spin or uppercut (I prefer spin so I have an option against many zeds at once)

Low sweep and low slice are strong but they don't give you kill points unless you execute.

6. Facilities

You must have a latrine, workbench (with ammo production) and infirmary (with field surgery).

7. Grenade Launchers

Find every damn grenade launcher in the game, starting with whatever is in the police station and then move on to all the little delivery trucks scattered throughout the game. I'll let you do the finding as I honestly don't have them memorized (I picked the map clean back when I was around 20,000 points and I have a lot more now!). Use the survey locations to find most of the trucks, then check the highway ramps.

Why do you need grenade launchers? When all of your allies have them at your base, you can literally sit back and only kill the big bastards during sieges (your allies cannot kill big bastards with their grenade launchers, only you).

Keep your team small and limit it to the number of grenade launchers you have.

8. End Game

Once you've completed all the side missions and disarmed the nuke, in the words of Cartman, "Now we can finally play the game." It's time for the end game, which is not nearly as exciting as you'd think.

Besides calling in supply drops, cleaning the latrine, and having your squad look for materials, the only things you have to do in between sieges is kill hordes and wander the highway looking for zombies to slaughter. Remember that car kills only count when you destroy a horde, feral, or screamer. It counts on a boomer but please don't do that!

During a siege  you can sit back and wait until your ammunition is required (thanks to all the grenade rounds flying. When big bastards arrive, use a gun that can kill them for less than 6 influence or your grenade launcher (most likely the grenade launcher will win that influence battle). At maximum siege difficulty, you will have two big bastards to kill, one from east and one from north. Remember, your allies can't kill the big bastards with their grenade launchers.

Don't get mines, firecrackers, or propane tanks, they are a waste of supplies. Do shoot the giant propane tank on the northeast corner of the base and across the street. That's a great way to get a bunch of kills when the north side spawns as well as take care of a wandering horde that gets too close during the siege.

9. How Do Sieges Give You Points

Sieges give you a bonus modifier of +.10 to your score. So if you kill 100 zombies and defeat 20 sieges, you will have 200 points. My math is not perfect but that is the general idea. With this in mind, you should work to get as many zombie kills by gun and melee as you can in between sieges to maximize your points. Killing specials and hordes give you a one time bonus, which is based on the modifier and a base amount. You do not get the modifier bonus after a siege applied to anything except regular zombie kills. At this point I'm getting like 1,500 base points per siege but people at the top of the leader board with 400,000 points are getting like 5,000-10,000. This is all because their siege modifier keeps increasing (no idea if it caps) and their base zombie kill count is going up as well.

Friday, June 6, 2014

Marcus and Lilly are Alive and Well

But they are headed for the same city that lifeline is based on. Oh noooo!!!!

I received this message after the 12th siege in Lifeline:


So it looks like as Lifeline ends Marcus and Lilly blow up the barrier and head into the city... only to find it overrun with the undead. My guess is they are as good as dead! That or we'll end up playing in the city in Undead Labs Class IV mmorpg with characters like Marcus and Lilly as quest givers.

Monday, June 2, 2014

High Score Strategy in Lifeline

I came up with a simple strategy for setting yourself up for a high score in Lifeline.

Many of you probably were around when I created the firecracker/propane tank strategy that got me to the #2 spot on Breakdown high scores (currently 7 even now). Link with strategy guide: http://stateofdecayguide.blogspot.com/2014/02/easy-high-score-in-state-of-decay.html

Well I have the beginnings of another method that appears to be working for me.

1. Take HOURS to complete the first two missions. Spend all this time with your first character establishing outposts, building your base, and hoarding supplies. Once you complete the second mission, you can switch characters and continue with whatever you have left to build up.
(HINT: During the initial battle that you start the game in, kill the zombies and then run backwards. You will find a backpack filled with grenades and munitions. You'll also find a car, but it might not be a 4 seater.)

2. On your third mission, whatever you choose to make it, get to the point where you have whistling box mines researched. These will be your answer to sieges.

3. You can now survive entirely on supply drops and building whistling box mines.

If you do this right, you will have 60+ resources of all types, all the outposts you need, whistling box mines being pumped out, air drops, etc.

Your two starting survivors will be tired, but it's a small price to pay.

That's what I have so far. I've been experimenting with not turning the quests in and it appears that certain quests never allow the threat meter to increase. This gives you a huge amount of time to stockpile and prepare.

On my first run through I made it to like the 1200th place for score, but I rushed through everything and got the nuclear ending by rescuing Sasquatch. I'm now going to try a slower pace with this method. I'll get back to you with my findings!

Monday, February 24, 2014

Videos Strategies Incoming

I finally figured out a good way to film my tv using a camera (sorry the xbox recorder I ordered doesn't actually record in HD, it just uses an HD wire). Sigh, damn advertising tricked me. Regardless, the picture turned out good and I filmed 2 hours of myself playing from one breakdown level to the next. I showed a bunch of great tips even if I didn't play perfectly (lol almost lost someone in first minute!).

I'll work on getting the videos out to you asap. Gotta get some rest now but I'm still here and still trying to get you guys and girls cool videos on our favorite game!